So far, we’ve seen how to use WordPress, Craft CMS and JSON data with Gatsby, but what if you want to use other data with Gatsby, which isn’t already present in some kind of plugin?
In this tutorial, I’ll show you how you can create your own Gatsby nodes.
Using the Node API
To be able to create new nodes, we have to use the Node APIs, and more precisely, the sourceNodes API. This API, allows us to create new nodes on the fly.
So, let’s open gatsby-node.js and add the sourceNodes function:
exports.sourceNodes = ({actions: {createNode}, createNodeId, createContentDigest}) => {
  // TODO
};
As you can see, we’re obtaining three parameters, being:
-
createNode: This function can be used to create the node itself, so that we can later use it in GraphQL queries. -
createNodeId: Each node needs a unique identifier. With this function, we can also make sure that these identifiers are unique across all nodes, even those from other sources. -
createContentDigest: To verify that the content has or hasn’t changed, we define a unique checksum digest. We could declare one ourself by using the following function, or we could use this utility function.crypto .createHash(`md5`) .update(JSON.stringify(content)) .digest(`hex`)
Now that we defined our sourceNodes function, the next step is to obtain the data we want to use. This can be anything, and depends on your use case.
In my case, I want to create nodes for the following data:
const avengers = [
  {
    firstName: 'Tony',
    lastName: 'Stark',
    name: 'Iron Man'
  },
  {
    firstName: 'Bruce',
    lastName: 'Banner',
    name: 'Hulk'
  },
  {
    firstName: 'Thor',
    lastName: 'Odinson',
    name: 'Thor'
  },
  {
    firstName: 'Steve',
    lastName: 'Rogers',
    name: 'Captain America'
  },
  {
    firstName: 'Natasha',
    lastName: 'Romanoff',
    name: 'Black Widow'
  },
  {
    firstName: 'Clint',
    lastName: 'Barton',
    name: 'Hawkeye'
  }
];
To do this, I’ll have to call the createNode function for each object, so I’ll do something like this:
exports.sourceNodes = ({actions: {createNode}, createNodeId, createContentDigest}) => {
  return avengers.map(avenger => createNode(avenger));
};
Sadly, the code above, won’t work unless we provide some additional metadata, such as the ID, the type and the content digest, for which we’ll use the createNodeId and createContentDigest functions:
exports.sourceNodes = ({actions: {createNode}, createNodeId, createContentDigest}) => {
  return avengers.map(avenger => createNode({
    ...avenger,
    id: createNodeId(avenger.name),
    internal: {
      type: `Avenger`,
      contentDigest: createContentDigest(avenger)
    }
  }));
};
If we would run our application now, we’ll be able to query for our avengers, for example:
query {
  allAvengers {
    edges {
      node {
        firstName
        lastName
        name
      }
    }
  }
}
We could even create some advanced queries. For example, let’s say we only want to retrieve the avengers whose last name start with the letter B, in that case we could use the following query:
query {
  allAvengers(filter: {lastName: {regex: "/^B"}}) {
    edges {
      node {
        firstName
        lastName
        name
      }
    }
  }
}
This would return both Bruce Banner (aka the Hulk) and Clint Barton (aka Hawkeye).
Creating our own plugin
Why stop there though, you could even create your own Gatsby plugin! For plugins that create new nodes, the naming conventions is to start them with gatsby-source, such as gatsby-source-avengers.
If you want more information about creating your own plugin, you could check my tutorial about writing your own Gatsby plugin.
Parameterizing your source plugin
One thing I do want to cover though, is that you can also parameterize your Gatsby source plugin (and other plugins).
To do that, you simply add an additional parameter to your sourceNodes function:
// Add the options parameter to the end
exports.sourceNodes = ({actions: {createNode}, createNodeId, createContentDigest}, options) => {
  return avengers.map(avenger => createNode({
    ...avenger,
    id: createNodeId(avenger.name),
    internal: {
      type: `Avenger`,
      contentDigest: createContentDigest(avenger)
    }
  }));
};
Now you can add some additional configuration to your Gatsby sourc plugin, and use them within the sourceNodes function to actually do something with the data (eg. the avengers array in my case).
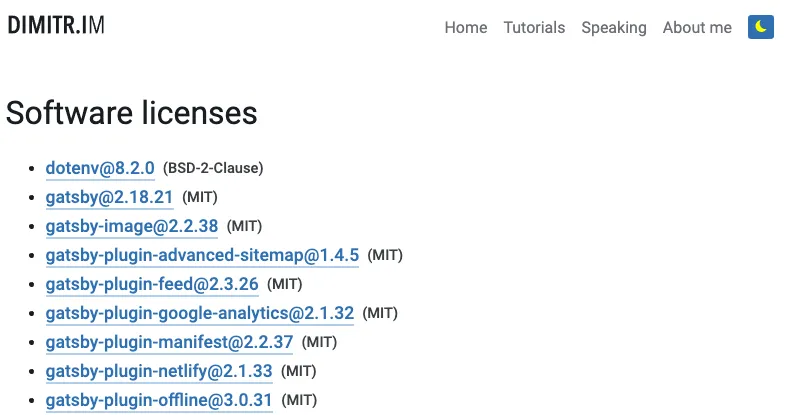
If you’re interested in a full example, you can check out the source code of my gatsby-source-license plugin. This plugin allows you to make a list of all software licenses of dependencies you’re using in your project, which allows you to come up with a page like this: