
Last time, we pretty much finished our pokédex overview by implementing some pagination. Now that the pagination is behind us, we can focus on creating a more detailed view for our pokémons. If you remember when we wrote a service, we actually provided two functions, a findAll() and findOne() function. However, we didn’t use the findOne() function until now, so let’s create a page to show more information for our pokémon!
Creating our pokémon info component
Well, the first step we have to take, before implementing routing, is to create a component that can be used by our routing. For our overview, we already have a component (called PokemonListComponent), for our info page we don’t have one yet. So let’s create one with Angular CLI:
ng g component pokemon-infoIf you remember, this is a shorthand for writing:
ng generate component pokemon-infoThis command generates four files, but since I won’t be writing any tests or CSS soon, you can leave those alone or you can delete them. If you’re deleting them, make sure you don’t forget to edit pokemon-info.component.ts to remove the styleUrls property in our @Component decorator.
Applying the route configuration
If that’s done, it’s time to configure our routing. Sadly, support for routing is currently not available within Angular CLI, so I guess we’re on our own now!
To configure routing, we have to open app.module.ts and find the imports section of the @NgModule decorator. Normally, this contains three modules being BrowserModule, FormsModule and HttpModule. Now, we want to add a fourth module called RouterModule:
RouterModule.forRoot([
  { path: 'pokemon/:id', component: PokemonInfoComponent },
  { path: '', component: PokemonListComponent }
])
So, as you can see, we also provided some configuration. The configuration we’re going to use is quite simple. We have our default route (having an empty string as path) that’s leading us to the PokemonListComponent and we have another path called pokemon/:id leading to our newly made PokemonInfoComponent. The :id part here is a placeholder that tells Angular that there will be a parameter given here. In our case, that parameter will be the ID/number of the pokémon.
Also, don’t forget to import the RouterModule:
import {RouterModule} from '@angular/router';Using <router-outlet>
Now, we have defined our routing config already, but right now, we have fixed our app.component.html so that it uses <app-pokemon-list>. If we’re using routing, we actually want to show the component that should be activated by the routing here, and not the list of pokémons.
To change this, we simply have to replace the <app-pokemon-list></app-pokemon-list> with the following:
<router-outlet></router-outlet>Now, if we look at the application now, we can see that nothing changed, which is a good thing. This means that we’re now doing the same thing as before, but with routing!
Linking to our info page
Now, we can also test our our info page by going to http://localhost:4200/pokemon/1. This should work fine and as well and show the default “pokemon-info works!” message.
So if I want to link to the detail page, I can simply put this link as the [href] attribute and it should work, right? Well, it would work, but it’s not the right way to do this. If you loaded the page, you might have seen it, it does a serverside request and it has to load the application again to show the info page. The power of single page web applications is to not have to do that and to be able to see different pages without actually leaving the webpage.
To do this with Angular, we have a directive called RouterLink. So let’s use it!
Open up pokemon-entry.component.html (because this is the component where we will add a link) and below the <div> with the class .card-content, we add another <div> like this:
<div class="card-action">
  <a href="#" [routerLink]="['/pokemon', pokemon?.id]">View</a>
</div>
As you can see here, we’re using the [routerLink] directive and we’re passing an array as an argument, containing the path to the info route, but rather than using :id here, we’re using pokemon?.id.
If we take a look at the application now, you’ll see that every pokémon now has a view link that can be clicked on:
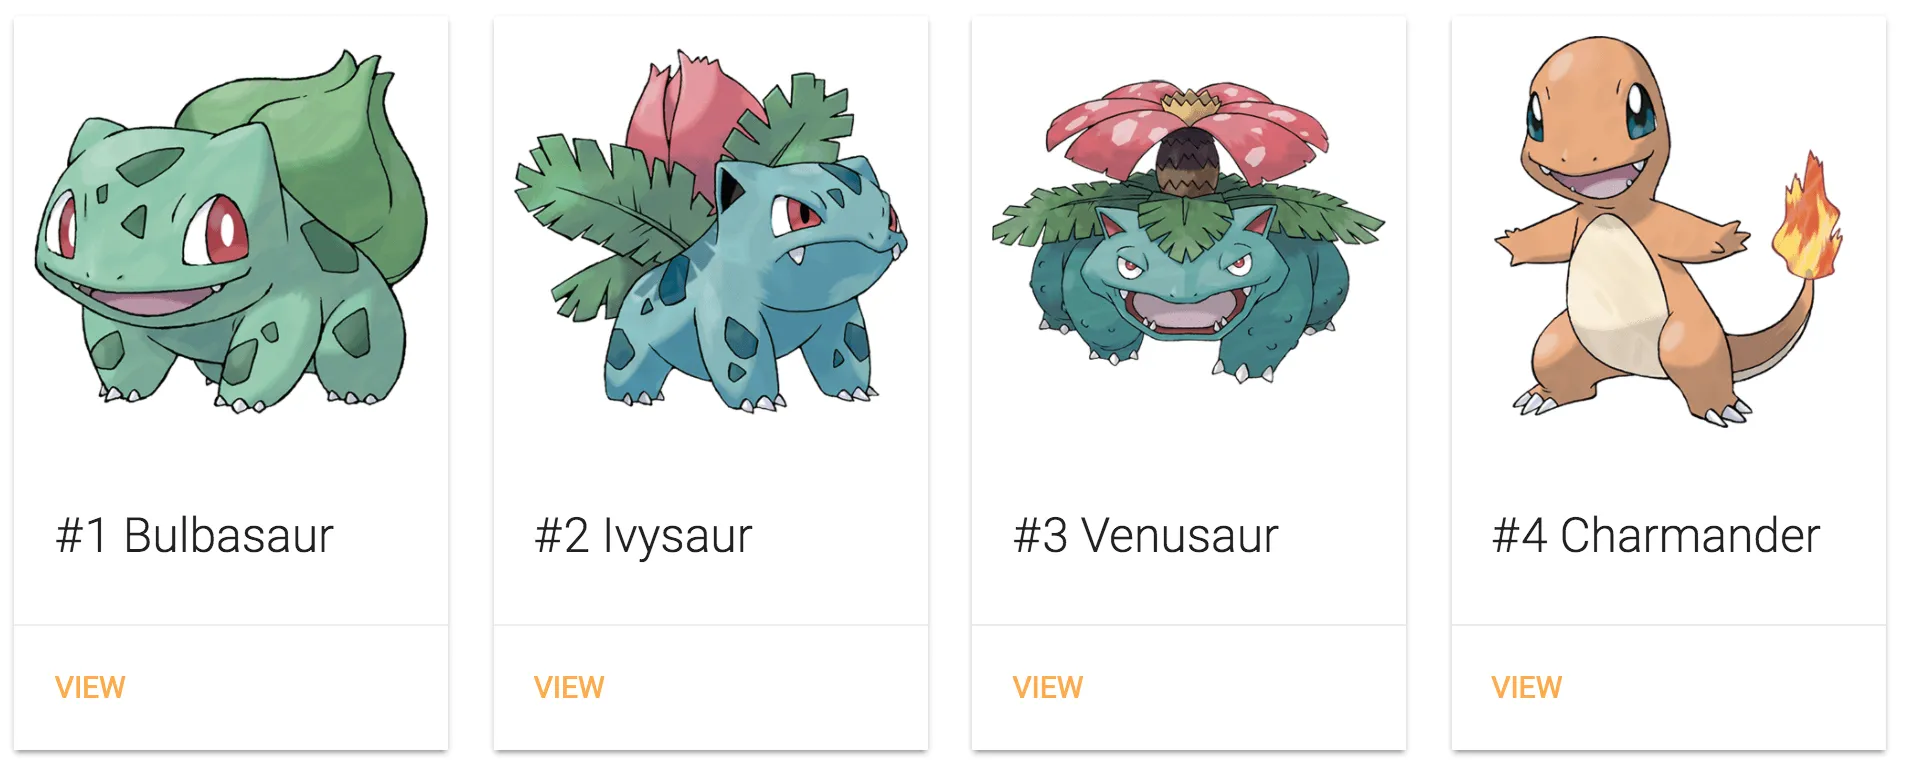
if you click these links, you’ll see that we get to the pokemon info component waaay faster than we did before, so it appears to be working as it should. However, how can we go back to our list now?
Adding a navigation bar
Now, to get back to the list of pokémons, I want to create a new component for our navigation bar, which will have a link that allows us to go back to the home page:
ng g component shared/navbarNow, let’s edit the navbar.component.html template to look like this:
<nav>
  <div class="nav-wrapper red darken-2 row">
    <div class="col s12">
      <a routerLink="" class="brand-logo">{{title}}</a>
    </div>
  </div>
</nav>
Once again we’re using the routerLink directive here, but as you can see I’m no longer using square brackets around it, because I’m referencing to the default route, which requires no dynamic property binding at all.
I’m also going to show a title here, but to do that we have to create a new @Input in our navbar.component.ts:
@Input() title: String;Don’t forget to import it either:
import {Input} from '@angular/core';With this done, it’s time to add the navbar to the application by editing app.component.html. On the first line, we simply have to add our navbar component:
<app-navbar title="Pokédex"></app-navbar>If you’re wondering why we’re not using [title] here like we did in our previous tutorials, well, just like the routerLink we used last time, we’re not binding to a property here, so we don’t have to use square brackets.
If you take a look at the application now, you can see that it has a proper navigation bar now, so it looks like that’s working as well.
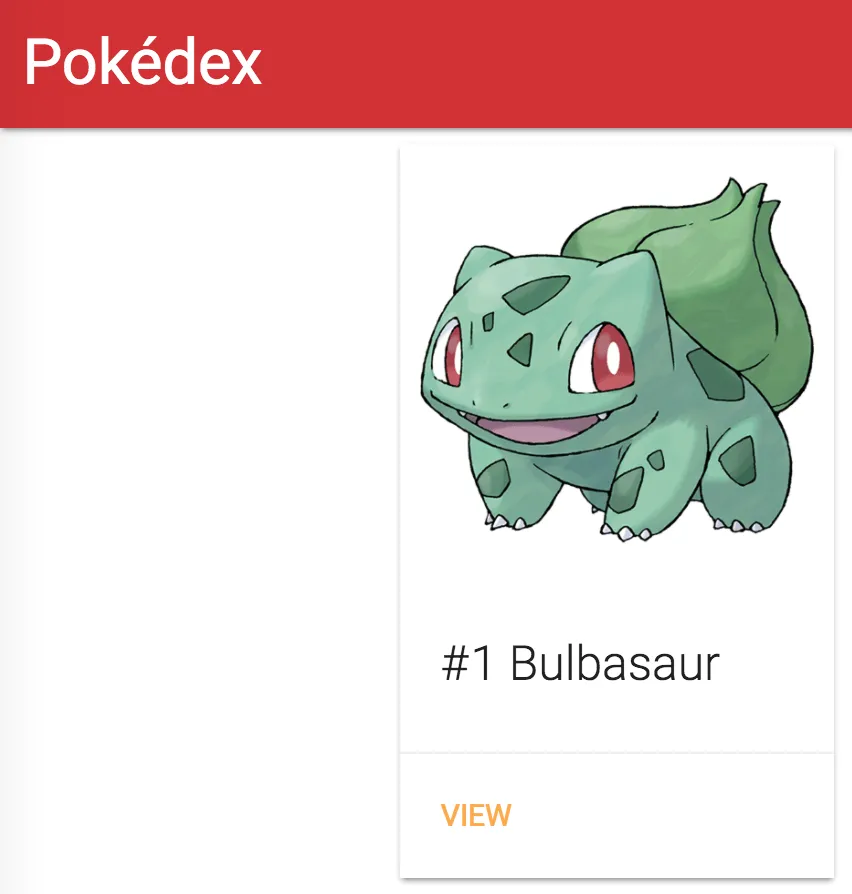
If you now click on the “View” link of any pokémon and you wish to return, you can now click the “Pokédex” title in the navigation bar and you will see the list of pokémons again.
Using route parameters
Great, we can now properly navigate, but how do we use parameters like the :id we’ve provided?
To use it, we have to go back to our PokemonInfoComponent (pokemon-info.component.ts) and change some things. First of all, we have to change our constructor to get the ActivatedRoute:
constructor(private _route: ActivatedRoute) {

}
This contains a lot of information, but in our case we’re mostly interested in the parameters. To get these parameters, you have to subscribe to this._route.params, for example:
ngOnInit() {
  this._route.params.subscribe(params => console.log(params['id']));
}
Don’t forget to import the ActivatedRoute though:
import {ActivatedRoute} from '@angular/router';Now, if we run the application now, and we look at the console, we can see that the ID is now logged when we open the info of a pokémon. Great, but let’s use our PokemonService now to retrieve the actual info of the pokémon and show something already!
First of all, we have to change the constructor again, to include the PokemonService:
constructor(private _route: ActivatedRoute, private _service: PokemonService) {

}
Now, we also have to add this service as a provider, so we have to change the @Component decorator a bit to look like this:
@Component({
  providers: [PokemonService],
  selector: 'app-pokemon-info',
  templateUrl: './pokemon-info.component.html'
})
Also, don’t forget to import the PokemonService:
import {PokemonService} from '../shared/services/pokemon.service';Now all we have to do is to change what we do with the this._route.params observable a bit:
this._route.params
  .map(params => params['id'])
  .flatMap(id => this._service.findOne(id))
  .subscribe(pokemon => this.pokemon = pokemon);
So, first of all we’re using the params and mapping it to the ID using the map() operator of RxJS. After retrieving the ID, we want to use the findOne() of our service. However, since this will actually return another observable, we can use the flatMap() operator, to actually flatten the observable to one level, rather han having an observable within another observable.
The last step is to actually put the result in a field called this.pokemon. Since we didn’t make that one yet, let’s add it:
pokemon: Pokemon;Now that we have our pokémon, we can change the pokemon-info.component.html to show some information about the pokémon. Actually, we can re-use the PokemonEntryComponent here, since we want to show an image of the pokémon together with its name and number anyways:
<div class="row">
  <div class="col s6">
    <app-pokemon-entry [pokemon]="pokemon?.baseInfo"></app-pokemon-entry>
  </div>
</div>
Since we will show a lot more information than just that on this page, I’m going to use the grid system of Materialize here.
However, I don’t want to show the “View” link here since we’re already on that page, so I’m going to change it a bit to not be visible when I’m on this page. To do that, I have to change the pokemon-entry.component.ts a bit to add another @Input field called withLink:
@Input() withLink: boolean = true;By default this will be true so we don’t have to change anything to the PokemonListComponent. However, for our pokemon-info.component.html template this will be false:
<app-pokemon-entry [pokemon]="pokemon?.baseInfo" [withLink]="false"></app-pokemon-entry>You might think that we don’t have to use property binding here either and can just use withLink="false", but that isn’t true. If we would have used it that way, the false would be passed as a string, and not as a boolean false.
Now all we have to do is to just add an *ngIf to the pokemon-entry.component.html template:
<div class="card-action" *ngIf="withLink">
  <a href="" [routerLink]="['/pokemon', pokemon?.id]">View</a>
</div>
If we take a look at the application now, we can see that nothing changed at our pokémon overview, and if we take a look at the pokemon info of one of the pokémons, we can see that it shows the same component, but this time without a link to the view page.
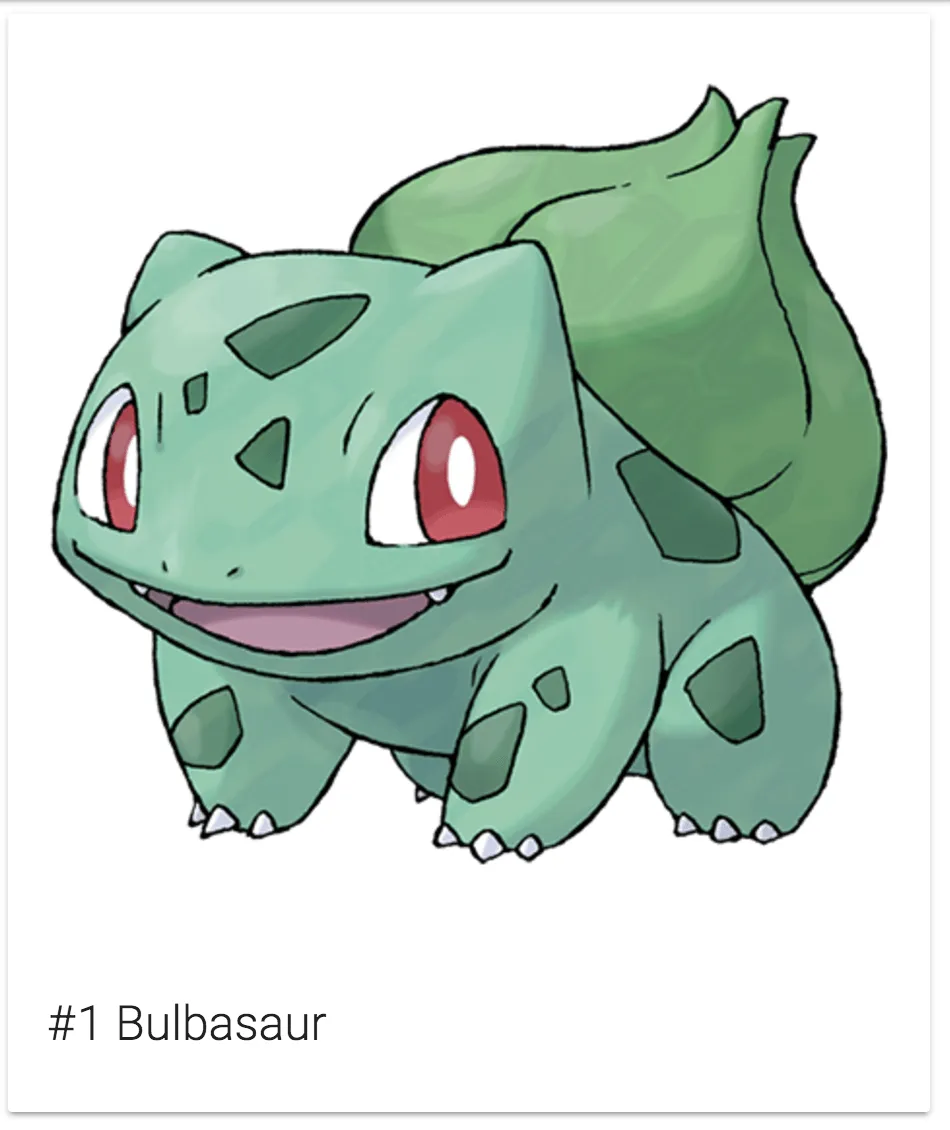
That means that the routing is working fine and that we now have both an overview of all pokémons, and a more detailed page. Next time we’ll define a page title for every route using the Title service.
Achievement: Found the right route
If you’re seeing this, then it means you successfully managed to make it through this tutorial. If you’re interested in the code, you can check it out at Github.