Angular 2 has been released for a few weeks/months now, so it’s time to explore what has been changed (spoiler alert: a lot) and how you can get started with Angular 2. During this series I will build a small Pokédex, building on the pokéapi.
What’s so different about Angular 2
Components
If you’ve missed most of the news around Angular 2, then here’s a short summary. If you made it to Angular 1.5, you should have already been aware that there’s a new kid in town, called the component. This component is a mix between a controller and a directive, and it should replace both in most cases.
In Angular 2, you no longer write controllers, you write components only. Directives do still exist, but unlike components they do not require a view, so they’re often used to enhance DOM elements by adding behaviour to it, examples of directives are ngModel and ngFor (= ngRepeat in AngularJS).
TypeScript
Angular 2 was completely rewritten using TypeScript. TypeScript is a superset to JavaScript and adds extra functionality to JavaScript, and in this case, like the name already mentions, it adds types (and decorators). TypeScript also adds support for certain ES6 and ES7 features. ES6 and ES7 are the “next versions” of JavaScript, and add some interesting features. If you just want to build a webapplication without Angular 2, but using these additional features of ES6 or ES7, you should certainly take a look at Babel.
Angular CLI
As you might have guessed by now, using TypeScript requires an additional compilation (or transpilation) step to convert TypeScript code into JavaScript (ES5) code, since that’s the language that browsers understand.
You don’t have to do that all on your own though. Angular 2 comes with their own command-line tools called Angular CLI. Also, you’re not required to use TypeScript with Angular 2, but most people will use it and most unofficial documentation and articles will contain TypeScript, including me.
So, let’s get started by installing Angular CLI, all you need is Node.js and npm (which will be installed if you install Node.js). Just open your terminal and enter:
npm install -g angular-cli
Or for the cool kids in town:
yarn global add angular-cli
After a while it should be installed completely, and you can test it out by using:
ng --help
Normally this should give you a bunch of information.
Creating our project
So, go to your workspace using your terminal and enter the following command:
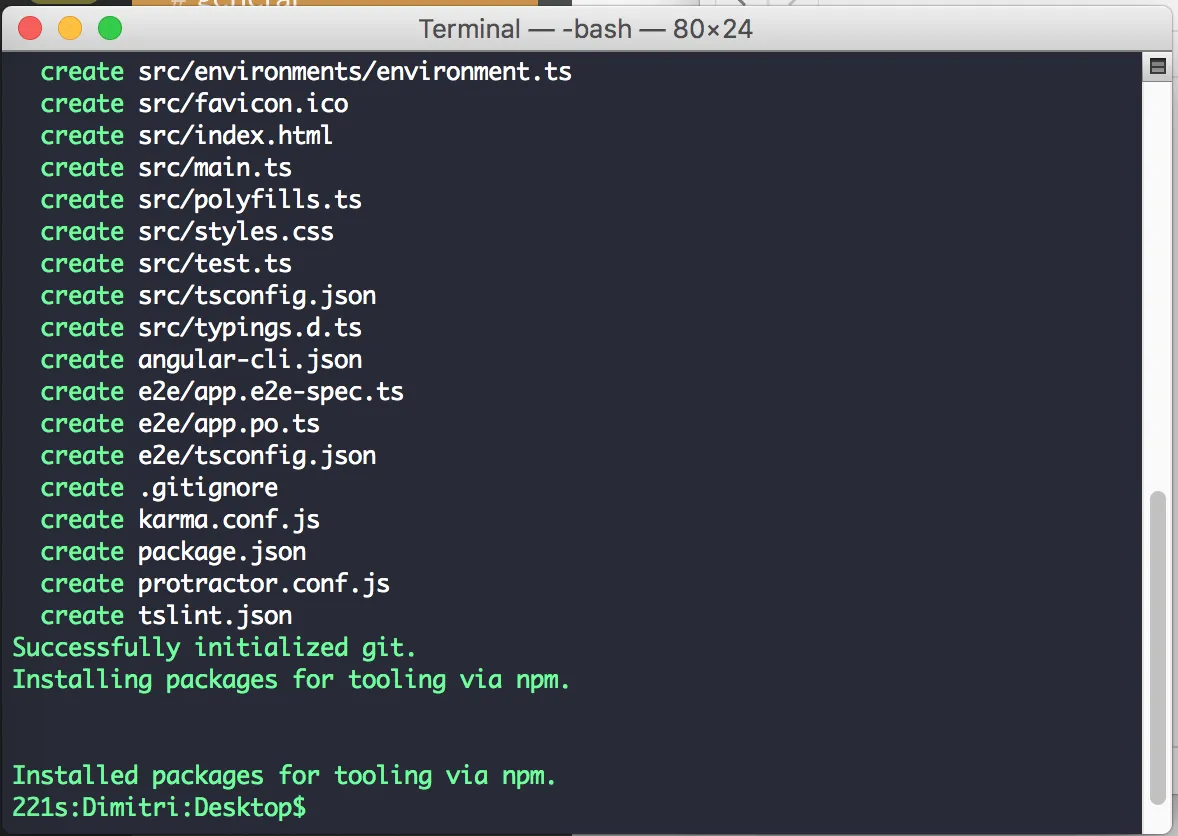
ng new ng2-pokedex
With this command we create a new project called ng2-pokedex. After this is complete, we can open our project in our favourite IDE or text editor. In my case that will be IntelliJ, but feel free to anything you like. Visual Studio Code appears to be popular choice to write TypeScript code.
Running the Angular 2 application
To run the application you use the following command:
ng serve
This command is also added to the scripts of your package.json, so you can also run it like this:
npm start
The hipster kids using Yarn on UNIX will have to wait though, until a fix is implemented in 0.15.2. Otherwise they could use:
yarn start
By default, this will start the application on port 4200, so if you visit http://localhost:4200/, you should get a cool message that the app works. If you don’t like this port, you can always configure it by providing the --port parameter:
ng serve --port 8080
What’s under the hood?
Before continuing, it’s probably worth checking out what it actually does. If you open the node_modules folder, you see that it contains a lot of stuff, not joking here. I’m not going to go over all of them, but I’ll just explain what it does in a nutshell.
I already explained that, in order to make the TypeScript work, it has to transpile it back to JavaScript. To do that, it uses the TypeScript compiler. However, TypeScript allows you to write imports like this:
import { Component } from '@angular/core';
To handle these cases, the TypeScript compiler uses a module loader such as RequireJS, Browserify, System.js, Webpack, … . In the early days, Angular CLI used System.js, so you might encounter a few articles mentioning this, however, recently they switched to Webpack.
Now, TypeScript also has another issue. What if you want to use an existing library within your TypeScript code, for example Lodash? Well, that’s actually what Typings is used for. Typings actually contains interfaces for many libraries, and these interfaces can be used within your TypeScript code, and when the code it transpiled, it will just use the libraries themself. The repository of all Typings interfaces can be viewed on Github as well.
It also contains its own linting, since JSHint or JSLint will no longer work for TypeScript code.
Because the TypeScript code allows certain ES6 features, you also have to include a shim for certain things, these shims allow you to execute ES6 features within your browser, because they implement those features themselves. This does not work for all features though, so that’s why transpilers like Babel exist.
Now, I also want to mention that Angular CLI is actually based on the ember-cli project, which is a similar tool for Ember.js applications. So no, it’s not a mistake if you find certain things in your node_modules folder that are related to ember-cli.
Exploring the project
If you have opened the project in your workspace, you’ll see that there are several files and folders already. In the project folder itself you can find several files:
- angular-cli.json: This file configures where Angular CLI should look for certain files. If you need to follow a specific project structure, you can change this file.
- karma.conf.js: This file configures how the Karma test runner should run and which files should be tested. In this series I’m not going to talk about testing.
- protractor.conf.js: This file configures how Protractor should run. While Karma is used for unit testing, Protractor is about end to end testing (E2E) your application.
- tslint.json: While JSHint has a .jshintrc file to configure, TSLint has a tslint.json file to configure what features should be enabled to check your code
Now, there are also a few folders already. First of all we have the src folder that contains all our sources. Within this folder we have our HTML file, some TypeScript files to bootstrap our application and also some configuration files to configure Typings and the TypeScript compiler.
If you open the app folder, you’ll see that it contains several files starting with app.component. These are actually the files that each component can have. The CSS file contains styles specific for the component, the HTML file contains the template, the .ts file contains the Angular/TypeScript code and the .spec.ts file contains the unit tests for the component using Jasmine.
The other folder is the e2e folder. This folder contains our end to end tests. Within this folder are three files. We have another tsconfig.json file configuring how the TypeScript compiler should work for e2e tests and we have two files starting with app. The file ending with .e2e-spec.ts is our actual test. These tests use Jasmine as well. The other file, ending with .po.ts is our page object, following the page object pattern that is commonly used for e2e testing. This file uses Protractor and contains several functions to interact with the browser and the DOM to make our tests work.
Adding some dependencies
To create our project, I’m going to add two more dependencies, Lodash and Materialize. However, to use Lodash we also need to install the typings for it, like I explained earlier. So to install these, use:
npm install --save lodash materialize-css @typings/lodash
Or when you’re using Yarn:
yarn add lodash materialize-css @types/lodash
If you’re wondering why I’m not using Angular Material, well, that’s because there are still some issues with the grid, which I’ll be using during these tutorials.
We can also add the Materialize CSS already to our application by opening styles.css and adding:
@import '~materialize-css/dist/css/materialize.min.css';
That’s it for now, in the next article I’ll be creating a service using RxJS.
Achievement: Ready to start with Angular 2
If you’re seeing this, then it means you successfully managed to make it through this tutorial. For now, we didn’t write any code yet, but you can explorer the project on GitHub.