
Where are the good ol’ days when everyone used 1 JavaScript library at most (usually jQuery). With modern applications you need a modern approach, setting up such a project can be hard sometimes, but why re-invent the wheel if there are probably thousands of people who need the same thing? Yeoman helps you to setup your project by providing configuration and a project skeleton, usually based on best practices.
In this article I will write a small AngularJS application and use Yeoman to set it all up.
To have some more interesting data to display, I’m going to choose one of the thousands of interesting API’s at Mashape.

Let’s get started
Getting started with Yeoman is not that hard. First of all you need Node.js. After installing it you need to pop up a terminal and enter the following command:
npm install -g yo
This will install Yo, the Yeoman butler, together with all kind of other tools that will be necessary, such as Bower, Grunt and Gulp.
Yo, the Yeoman butler generators to generate a project. Generators are depending on the technology stack you wish and have to be installed seperately. In this case I’m going to create an AngularJS project, so I’ll need the generator-angular. You can install it by using:
npm install -g generator-angular
When you’re done, create a new folder, which we’ll use as our project folder, navigate to the folder, and enter the following command:
yo angular
This will start the AngularJS generator wizard. This generator has a lot of options, in this tutorial I didn’t choose Sass, but I did choose to add the Twitter Bootstrap library. Out of the list of AngularJS modules I only chose to include angular-resource.js. After this, the generator will start to generate your project.
Please be aware. Depending on your network speed, generating the project may take a while, certainly if it’s your first time you’re using this generator.
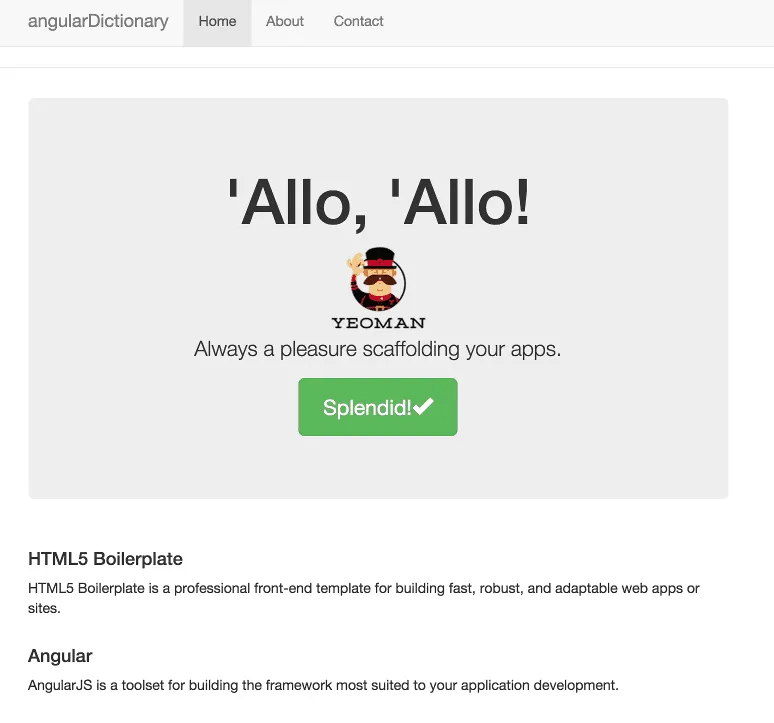
After that, enter the following command, and you’ll see that a browser window will pop up with a small demo application:
grunt serve
As of recently, you might be missing some styling. Since Bootstrap 3.3.5 they decided to remove the Bootstrap CSS file of the main file list. This means that the wire dependency plugin will no longer be able to do its job to add the CSS file to the HTML page.
To solve this, you can either downgrade to Bootstrap 3.3.4 by modifying bower.json and change the Bootstrap dependency to:
"bootstrap": "3.3.4",
You’ll have to run the bower install command to update the dependencies.
Or you can add the CSS file manually, by opening app/index.html and to add the Bootstrap CSS to the <head> section.
Signing up for Mashape
For this application I will be using an API from Mashape. Mashape allows you to access more than thousand APIs. In this example I will be using the Dictionary API. After signing up for Mashape you can create an application and retrieve the API keys necessary to communicate with a Mashape API. If you created an application, make sure to copy the API key.
Configuring the application
The yeoman generator has created quite a lot of files already, but in a different way I’d like to use them. I’d like to follow the AngularJS styleguide of JohnPapa. So, inside the app/scripts folder I’m going to remove all files, and in stead of those files I’m going to start of by creating 2 files:
- application.module.js
- application.config.js
I’m going to start with application.config.js, so open that file and add the following code:
(function(angular) {
  'use strict';

  angular
    .module('dictionaryApp')
    .value('mashapeKey', /** Your API Key */);
}(angular));
So, what do we have here? AngularJS makes it very easy to add configuration parameters to your application. In this case we need to provide the Mashape API key somehow, so I’m using this file to do so. Make sure to replace the /** Your API Key */ comment with your actual Mashape API key.
If you ask yourself why we added the (function(angular) {}()); stuff, well, this is called an immediately invoked function expression (or an IIFE), and this allows us to create a local scope, if we didn’t do that, all functions and variables directly inside the file are created on the global scope. Alos, by adding angular as a parameter, we created a reference to angular on our local scope. If eventually angular is changed on the global scope, the reference our local scope has still works.
The next file I’m going to edit is the application.module.js file to define my AngularJS module. Here I’m also going to follow the AngularJS styleguide, so I’m going to create a few modules:
- A services module
- A dictionary feature module
- The global application module
So eventually, this is the file I ended up with:
(function(angular) {
  'use strict';

  angular.module('dictionaryApp.services', ['ngResource']);
  angular.module('dictionaryApp.feature.browse', ['dictionaryApp.services']);
  angular.module('dictionaryApp', [
    /** Core */
    'dictionaryApp.services',
    /** Features */
    'dictionaryApp.feature.browse'
  ]);
}(angular));
While doing this looks like quite some overhead for small applications, I think that you can still benefit from this structured module design. This feature-based design makes it easier to separately create features without depending on each others code.
Creating an AngularJS service with ngResource
The next part of the code I’m going to write is the dictionary service to look up a word using the Mashape dictionary API. To do that, I’m going to use the ngResource module, which allows us to easily consume REST APIs.
So, to create our service we need to inject two things, $resource and mashapeKey, the API key we configured earlier on.
(function(angular) {
  'use strict';

  function Dictionary($resource, mashapeKey) {
    return $resource('https://montanaflynn-dictionary.p.mashape.com/define', null, {
      find: {
        method: 'GET',
        isArray: false,
        headers: {
          'X-Mashape-Authorization': mashapeKey
        }
      }
    });
  }

  Dictionary.$inject = ['$resource', 'mashapeKey'];

  angular
    .module('dictionaryApp.services')
    .factory('Dictionary', Dictionary);
}(angular));
So, using $resource I can easily create a factory with certain methods, that are mapped to specific endpoints of the REST API. In this case we have only 1 endpoint, called https://montanaflynn-dictionary.p.mashape.com/define.
Creating a controller
The last thing I need is to create an AngularJS controller. Here I’m also going to follow the same styleguide, so I’m going to create a folder called feature-browse inside the app/scripts folder and inside that I’m going to define my controller, which I’m going to call browse.controller.js.
Inside this file I’m going to write the following code:
(function(angular) {
  'use strict';

  function BrowseController(Dictionary) {
    var vm = this;
    vm.definitions = [];
    vm.search = search;

    ////////

    function search(word) {
      vm.definitions = Dictionary.find({
        word: word
      });
    }
  }

  BrowseController.$inject = ['Dictionary'];

  angular
    .module('dictionaryApp.feature.browse')
    .controller('BrowseController', BrowseController);
}(angular));
The AngularJS styleguide of John Papa recommends to put all functions below the model. So in this case vm.search and vm.definitions are both part of the model, while the logic behind the vm.search function on the model will be placed at the bottom of the file.
This approach makes it easy to detect what’s on the model and what’s not, certainly when your controller tends to grow.
Altering the HTML page
Now, by writing our controller we finished up writing all our JavaScript code. The next part we have to write is a bit HTML. To do that, open index.html in the app/ folder. Now, remove everything starting with the line after the <body> tag and ending just before the <!-- build:js --> scripts section (for me that’s line 19 to 71, but please note that this may change in the future).
Now, change the value in the ng-app attribute on the <body> tag to dictionaryApp. Inside the <body> tag, you add the following:
<div class="container" ng-controller="BrowseController as vm">
  <h1><span class="glyphicon glyphicon-book text-info"></span> Dictionary</h1>
  <form role="form" ng-submit="vm.search(vm.word)">
    <div class="form-group">
      <label class="control-label">Lookup word</label>
      <input type="text" class="form-control" name="word"
        placeholder="eg. Filibuster" ng-model="vm.word" ng-change="vm.definitions = null"/>
    </div>
    <button class="btn btn-primary pull-right" type="submit">
      <span class="glyphicon glyphicon-search"></span> Lookup
    </button>
    <div class="clearfix"></div>
  </form>
  <div ng-show="vm.definitions.definitions" ng-cloak>
    <h2>{{vm.definitions.definitions.length}} results found for "{{vm.word}}"</h2>
    <blockquote ng-repeat="definition in vm.definitions.definitions">
      {{definition.text}}
      <footer>{{definition.attribution}}</footer>
    </blockquote>
  </div>
</div>
First of all we have a form with a text field, which we bind to the vm.word model. When the input is being changed, we also clear the vm.definitions model, because this is the list of possible meaning of the given word, but as soon as you change the word, the previously given definitions are no longer correct.
Then we have our list of definitions, for which we use the ng-repeat directive to loop over the objects inside the vm.definitions.definitions array. For each definition we display the text and the attribution properties.
We also want to make sure that, if there are no definitions, the list and the title is not visible, we can do that with the ng-show directive, and if the expression is false, it will be hidden.
Finally, at the bottom of the file, between the <!-- build:js({.tmp,app}) scripts/scripts.js --> and <!-- endbuild --> comments, we add our scripts:
<script src="scripts/application.module.js"></script>
<script src="scripts/application.config.js"></script>
<script src="scripts/services/dictionary.service.js"></script>
<script src="scripts/feature-browse/browse.controller.js"></script>
JSHint
Now, one issue remains, there is one thing of the AngularJS styleguide that JSHint doesn’t like, and that’s using a function before defining it. If you take a look at browse.controller.js, you’ll see that we use the search() function before we define it, since we say vm.search = search on line 7.
To change that, we open the .jshintrc file, which contains the configuration of the JSHint validator, and we change the latedef property from true to false.
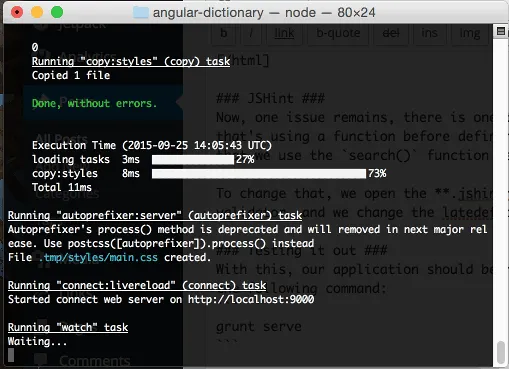
Testing it out
With this, our application should be ready to run. Open a terminal in the project folder and execute the following command:
grunt serve
And you should see Grunt into action in the terminal, and after a while your favourite web browser should pop up with your application.
Now you can try it all out, enter a word in the text field and some results should pop up:
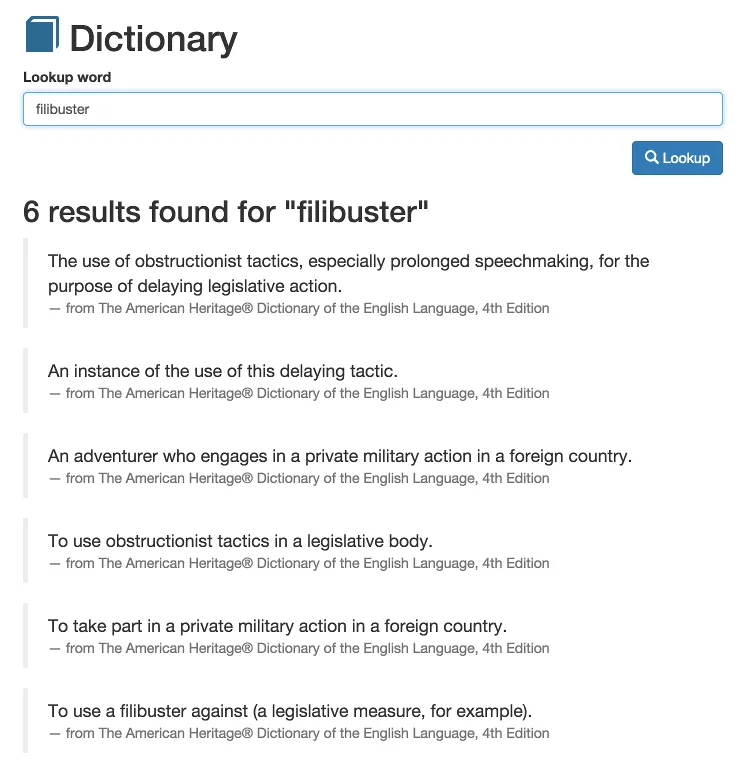
Conclusion
Yeoman is a great tool for scaffolding JavaScript-based webapplications and generating the project skeleton. There are currently more than 3000 generators, covering a lot of project setups going from AngularJS generators, slideshow generators, … to fullstack generators like MEAN and JHipster.
It also configures tools like Grunt and Gulp to provide you with a setup that is ready for usage, based on common pratices like folder structures, filenames, … .
Achievement: Used Yeoman to setup an AngularJS application
If you’re seeing this, then it means you successfully managed to make it through this article. If you’re interested in the full code example, you can find it on GitHub. If you want to try out the code yourself, you can download an archive from GitHub.