
Getting started with Angular CLI and Project Clarity
- January 30th, 2018
- 3 minute read
- Angular Angular CLI Clarity
When working at an Angular project, there are many choices for a UI kit. You have Angular Material, ng-bootstrap and a few more. My favourite UI kit is probably Project Clarity, open sourced by VMWare.

Installing the dependencies
While the documentation provides you with a lot of information to get started with an Angular seed project, there isn’t much information available for when you create a project with Angular CLI. Luckily for us, most steps are similar.
First of all, you need to install the proper dependencies:
npm install --save @clr/icons @clr/ui @clr/angular @webcomponents/custom-elements@1.0.0As mentioned in the Getting started guide, the libraries are being used for:
- @clr/ui: The CSS files for the user interface of Clarity
- @clr/icons: A library for the Clarity icons, a beautiful iconset, which you could even use without using the Clarity UI
- @clr/angular: A library containing the Angular components to use within your project
- @webcomponents/custom-elements: A polyfill for custom web elements
Configuring .angular-cli.json
The next step is to configure Angular CLI properly to load the styles and scripts. To do this, you need to open the .angular-cli.json file, and you need to search for the styles section. In here, you need to add the Clarity UI and icons CSS files:
"styles": \[
  "../node\_modules/@clr/ui/clr-ui.min.css",
  "../node\_modules/@clr/icons/clr-icons.min.css",
  "styles.css"
\],
The "styles.css" entry is generated by Angular CLI, and should be kept there if you like to add custom styles by yourself later on.
Then immediately below the styles section, there should be an empty scripts section. In here, you need to add the JavaScript files for the iconset and the custom web elements:
"scripts": [
  "../node_modules/@webcomponents/custom-elements/custom-elements.min.js",
  "../node_modules/@clr/icons/clr-icons.min.js"
],
Importing the module
The final step to get started is to import the ClarityModule in your appliation. You can do this by opening app.module.ts and importing the module:
@NgModule({
  declarations: [
    AppComponent
  ],
  imports: [
    BrowserModule,
    ClarityModule // This is new
  ],
  providers: [],
  bootstrap: [AppComponent]
})
export class AppModule { }
To do this, you also have to add the import statement:
import {ClarityModule} from '@clr/angular';Now you’re set!
Testing it out
To test it out, open app.component.html and replace the generated content by:
<clr-main-container>
<div class="content-container">
<main class="content-area">
<h1>Hello world!</h1>
<clr-alert>
<div clr-alert-item class="alert-item">
<span class="alert-text">
We can now use Clarity!
</span>
</div>
</clr-alert>
</main>
</div>
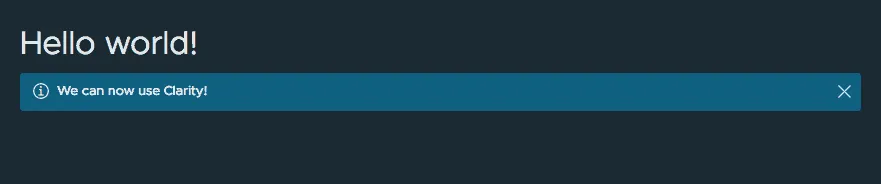
</clr-main-container>If you run the application now, using the ng serve command, the page should look a bit like this:

If that’s the case, then you are now ready to use Project Clarity!
Using the dark theme
Recently, Clarity also introduced the dark theme. If you want to try this out, you need to make the following change.
Open .angular-cli.json, and replace the styles section by:
"styles": [
  "../node_modules/@clr/ui/clr-ui-dark.min.css",
  "../node_modules/@clr/icons/clr-icons.min.css",
  "styles.css"
],
After that, the application should look like this:
And there you have it, a nice looking application with Angular and Project Clarity!